
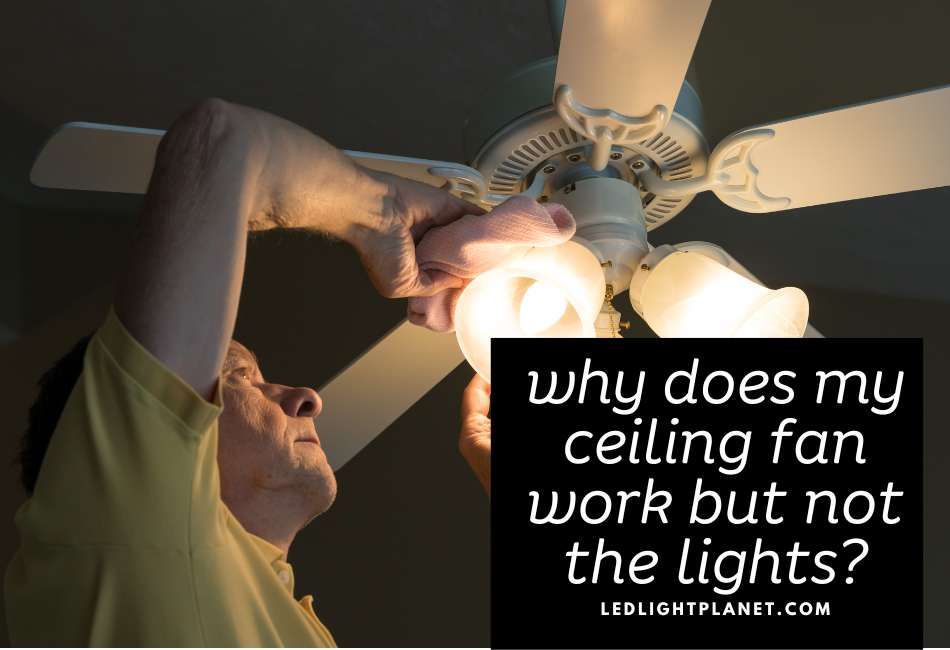
It’s an all too familiar scenario: you flip the switch, the blades start spinning, but the room remains frustratingly dark.
This issue not only disrupts the comfort of your home but also sabotages the functionality of your ceiling fan, transforming it into a one-trick pony.
In this blog, we will delve into the depths of this perplexing problem, exploring the seven common reasons your ceiling fan lights may not be working and, more importantly, how to fix them.
Stay tuned as we shine a light on this dark issue!
Common Ceiling Fan Components
Before we delve into the nitty-gritty of ceiling fan troubles, let’s familiarize ourselves with the key components that make up this essential household fixture.
Understanding these parts will help us navigate the possible issues more effectively.
Fan Motor
First and foremost is the fan motor. Now, I remember when I was a kid, my grandpa used to say, “The motor is the heart of the fan.”
And he couldn’t have been more right. This part puts those blades into motion and keeps our rooms airy and comfortable.
Just like the heart keeps our body functioning, the fan motor ensures our fan does its job.
Fan Blades
Speaking of, let’s move on to the fan blades. The fan blades are like the arms of the fan.
They cut into the air as the motor spins them, creating a cooling breeze we all love on a hot day.
I recall trying to touch the spinning blades on a slow-moving fan when I was a kid – don’t worry, I quickly learned that wasn’t the best idea!
Lighting Fixture
Finally, we have the lighting fixture. Often, this is an optional component, but it’s a crucial one in dual-purpose ceiling fans.
It’s like the cherry on top of the sundae, adding light to the breeze. I’ve spent countless evenings under the soft glow of my ceiling fan light, lost in a good book.
Now, these components don’t work in isolation. They are interconnected, creating a symbiotic relationship that allows your fan to serve its dual purpose.
If one component isn’t functioning correctly, it can impact the overall performance of your fan.
In the following sections, we’ll dive into how these components can sometimes fail us and how to get them back on track.
Reasons Ceiling Fans Work, but Lights Don’t
1. Loose or Disconnected Wires
Believe it or not, loose or disconnected wires are among the most common culprits when your ceiling fan lights refuse to cooperate.
If the wires connecting the lighting fixture to the electricity source are loose, the electrical flow can be interrupted, leading to irregular or non-functioning lights.
And let me tell you, it’s not just about comfort; this can pose a significant safety risk too. Loose wires can spark and cause electrical fires if left unchecked.
I remember an old buddy of mine who had a minor fire scare due to this exact issue. Thankfully, no one was hurt, but it certainly served as a wake-up call for all of us!
2. Faulty Wiring Connections
Faulty wiring connections also present a big problem. Picture this: you’ve connected your wires, and things seem fine, but the lights still won’t turn on.
What gives, right? Well, if your wiring connections are faulty, the electrical flow can be disrupted, leaving you in an unwanted semi-darkness.
I’ve been there, and it’s no fun at all! But don’t worry; it’s not all doom and gloom. Here’s a tip: to inspect your wiring, first, ensure your fan is off and unplugged.
Then, check the connections, ensuring they’re correctly connected and there are no signs of damage to the wires.
If you’re unsure or uncomfortable handling electrical components, always contact a professional. Remember, safety comes first!
Before doing deeper wiring work, use a test tool which can be found at Amazon (such as the Cofi Digital Multimeter Voltage Tester to verify that the feed to the light circuit is live, the neutral is intact and there are no unexpected voltage drops.
3. Blown Bulbs
You might be surprised, but the issue might be as simple as a burnt-out or blown light bulb! As obvious as it may sound, we often overlook this possibility.
I remember last winter when I was hosting a dinner party. Just as my guests were arriving, my ceiling fan lights decided to stop working.
The panic was real, let me tell you. Everyone was coming in, and here I was, in semi-darkness. To my relief and slight embarrassment, the problem was no more than a couple of blown light bulbs!
Here’s how to replace the bulbs effectively. First off, turn off the electricity source to your ceiling fan. You wouldn’t want a shocking surprise, would you?
Next, remove the old bulb by gently twisting it counterclockwise. It’s a good idea to wear gloves while doing this, as sometimes, bulbs can be a little stubborn and might break.
Now it’s time for the new bulb. But before screwing it in, take a moment to check the wattage.
This is important because using a bulb with a higher wattage than what your fan is designed for can cause overheating.
Once you’re sure it’s the correct bulb, twist it into place, turn your fan back on, and let there be light!
Remember, replacing a bulb is typically an easy fix, but if you continue to have issues or clear signs of damage to your fixture or wiring, it’s best to call a professional. Safety should always be your number one priority!
4. Broken Pull Chain
A pull chain, as simple as it sounds, is a crucial part of your ceiling fan’s functioning. It’s a switch, but not the flip kind you’re used to.
This little chain hanging from your fan is often responsible for controlling the lights. When it’s broken or malfunctioning, it can prevent your lights from working.
But don’t worry, there’s a solution. First, you need to make sure the fan’s power is off. Then, you might need to replace the entire pull chain switch.
You’ll have to remove the old switch, install a new one, and reassemble everything. It might be a bit tricky, but with a little patience, it’s doable.
5. Defective Wall Switch
There was another occasion when I was trying to turn on my bedroom light using the wall switch, and nothing happened.
After a moment of bewilderment, I realized the fault might lie within the wall switch itself.
A wall switch, just like a pull chain, plays a critical role in controlling your ceiling fan lights. When it becomes defective, your lights may not work.
To troubleshoot this issue, first, you’ll want to switch off the power at the circuit breaker. Then, remove the plate around the switch and inspect the wiring.
If you notice any loose wires, tighten them. If this doesn’t resolve the issue, you might need to replace the switch altogether.
6. Capacitor Problems
Capacitors are the unsung heroes of your ceiling fan. They control the startup and running speeds of your fan, influencing both the fan and the lights.
Let me tell you about when I faced problems due to a faulty capacitor.
A while back, my ceiling fan began to act strangely – it started at a snail’s pace, then would suddenly speed up, and the lights flickered in an unsettling way.
I realized the issue might be with the capacitor. The function of a capacitor is to store energy and then release it to either start or keep the fan’s motor running, and if it’s defective, it can impact the operation of your ceiling fan and lights.
Diagnosing a faulty capacitor can be a bit tricky. If your fan is not starting or running at a very slow speed, or if your lights are behaving oddly – these could all be signs of a faulty capacitor.
It’s crucial to remember that capacitors can hold an electric charge even when the power is off, so safety must be your priority. Ensure the power is off at the circuit breaker before diagnosing.
Replacing a faulty capacitor is a job best left to professionals due to the potential dangers involved. Still, if you’re confident in your DIY skills, it can be done following careful precautions.
The capacitor is usually located in the switch housing under the fan blades. It’s a small, cylindrical object.
After disconnecting the faulty capacitor, you can replace it with a new one of the same microfarad rating and voltage.
7. Remote Control Malfunctions
Now, let’s discuss another common issue with ceiling fans- remote control malfunctions. Believe it or not, the remote control can be the culprit behind your ceiling fan light problems. Let’s dive deeper into this.
Just like any other digital device, your fan’s remote control might experience glitches or fail due to various reasons, such as low battery, signal interference, or component failures.
When your remote control isn’t functioning as it should, it could lead to trouble controlling the lights. This is something I’ve experienced firsthand.
- Troubleshooting Remote Control Problems
After a bit of researching and tinkering, I found a few steps that can help troubleshoot remote control problems.
First, check the batteries. It might seem trivial, but more often than not, simply replacing the remote’s batteries helps.
If that doesn’t work, try moving closer to the fan when you use the remote – it’s possible the remote’s signal isn’t reaching the fan’s receiver.
Another step you can take is to reset the remote. Most ceiling fan remotes have a reset button – just press and hold that for about five seconds, then release it.
This process resets the remote, and hopefully, it starts functioning normally again.
Lastly, the issue could be with the fan’s receiver, a device installed inside the fan’s motor housing.
If none of the above solutions work, it might be a good idea to consult with a professional to check the receiver.
While remote control problems can be a hassle, they’re typically not too complicated to resolve.
Just take a deep breath, think logically, and work through it step by step – just like I did!
6. Faulty Light Kit
Another common problem that could lead to ceiling fan light failures is a faulty light kit. This was a problem I ran into once with an old ceiling fan in my living room.
- Inspecting the Light Kit
A faulty light kit could be due to multiple reasons, such as a burnt-out bulb, loose wiring, or damaged light sockets.
From what I’ve learned, the first step is to check the bulbs. They might just be loose or burnt out. If it’s just loose, you can tighten it.
If it’s burnt out, you must replace it with a new one. Remember to ensure the power is off before you start tinkering with electricity! Here is the recommendation from Amazon: Westinghouse 7785000 LED Cluster Ceiling Fan Light Kit: A ready-to-install LED light kit suitable for many ceiling fans; useful when the light kit itself may be faulty or the bulbs are no longer serviceable.
- Repairing or Replacing the Light Kit
If the bulb is not the problem, you might have to delve deeper. And this is where my journey got a bit tricky.
I suggest you take a look at the wiring. Loose or frayed wires can also cause the light to fail.
If you know something about electrical wiring, you might be able to fix this issue yourself. But if you’re unsure, it’s always safer to call a professional.
7. Circuit Breaker or Fuse Issues
My journey with ceiling fan problems taught me how the smooth operation of any electrical appliance, including our trusty ceiling fan, relies heavily on circuit breakers and fuses.
These components serve as the guardians of our electrical circuits, ensuring everything runs smoothly and safely.
- Understanding the Role of Circuit Breakers and Fuses
Circuit breakers and fuses are crucial in safeguarding our homes from electrical overloads and shorts.
When too much electrical load or a short circuit, these devices break the circuit, preventing potential fire hazards.
I had one such experience when my ceiling fan’s lights failed to turn on. My first thought was a burnt-out light bulb, but it turned out to be a tripped circuit breaker.
- Tripped Breakers and Blown Fuses: The Impact on Lights
Tripped breakers or blown fuses can cause the lights in your ceiling fan to stop working.
Once, I remember, I replaced the bulbs, checked the wiring, and even swapped out the light kit, only to find out the culprit was a tripped breaker.
Boy, was my face red! But I learned a valuable lesson: it’s vital to rule out these simple fixes before investing time and energy into more complex issues.
- Resetting Breakers or Replacing Fuses
If you find yourself in a similar spot, here’s what you can do: locate your home’s electrical panel (usually a metal box in your basement or garage).
Open it, and you’ll see rows of switches (circuit breakers) or small, round elements (fuses). Look for the breaker connected to your ceiling fan.
If it’s in the ‘off’ or ‘middle’ position, flip it back to ‘on.’ If you have a blown fuse, you’ll need to replace it.
Remember always to prioritize safety: wear rubber-soled shoes and use insulated tools. If you feel unsure or uncomfortable, it’s best to call a professional.
After all, we’re dealing with electricity here, and it’s better to be safe than sorry!
Conclusion
In our journey together, we have discovered seven reasons why your ceiling fan might be working but not the lights.
We’ve seen how everything from blown fuses or tripped circuit breakers to faulty wiring, worn-out pull chains, bad light switches, damaged light kits, and even expired light bulbs can leave you in the dark.
Through my experiences, I’ve learned that even seemingly complex problems, like my ceiling fan light issue, often have surprisingly simple solutions.
One crucial takeaway is the importance of regular maintenance and timely repairs. Checking your bulbs, keeping an eye on your circuit breakers, and inspecting your fan’s wiring and switches can prevent these issues or at least nip them in the bud.
I encourage you to use the troubleshooting and fixing tips I’ve shared, as they’ve saved me time, money, and frustration numerous times.
However, not all of us are comfortable tinkering with electrical fixtures, and that’s perfectly fine. We must remember that when dealing with electricity, safety is paramount.
So, if you’re unsure or uneasy about a repair, don’t hesitate to seek professional help. There’s no shame in calling in an expert to ensure your home remains a haven.
I invite you to share your experiences and solutions in the comments below. Not only will your stories guide other readers facing similar issues, but they’ll also enrich our community’s collective knowledge.