
Led light strips are a great way to add some extra light to a room, and they come in a variety of different colors. However, one question that people often ask is where to cut the led light strip.
For most people, this can be nerve-wracking, but it doesn’t have to be. In this article, I will share with you the best places you can cut your led strip lights.
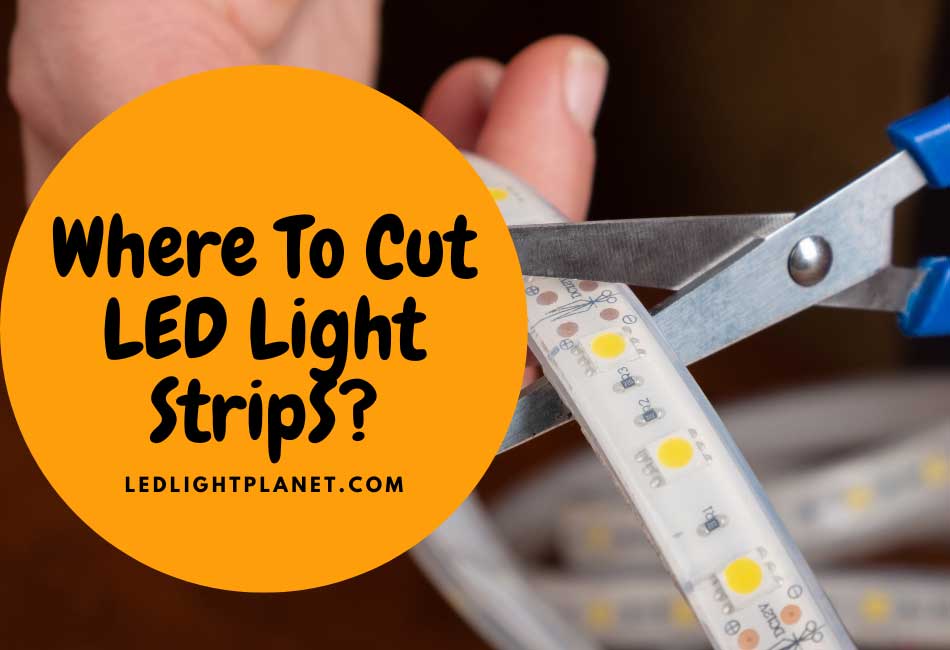
The best place to cut a led strip light is in the middle of the copper pads. This is because the copper pads are where the electricity flows through the strip. If you cut the strip in the middle of the copper pads, you won’t damage anything, and you’ll be able to reconnect the two halves easily.
For example, the RGB LED Strip Light Kit (Cuttable & Connectable) comes with clearly marked copper pads and cut lines, showing exactly where you should trim the strip, so you don’t break the circuit. https://www.amazon.com/Cabinet-Lighting-Adapter-Changing-Bookcase/dp/B0C1SPPHVC?crid=KE4MROKZ3FJW&dib=eyJ2IjoiMSJ9.8E1tDk8SZtXUiTdXLz5P15L1MUZ_mfWmBhxyFEKMJz9Zwk1UwYHA24zxFcjVJSdotidAF1t4R-yDTkC9VJMPs8nexO0rYYxXg7y9a_Ck4rfEV7CQBEVwowU7rsjdpNDvK02KAPdL1fs5V_qo7OkeKtqKdCweWF6HpA3rc76OXiZXVrFrFIzHv7_VYoEhP2ziEZnEBf2bVaEpIqQspw8lcmZyW9WlZolELTMGLJl_66ncHVDB0jAKQw7WDXFxLwfB-PnNZoBgH7soOi250ZtFD8aMePTvVA3bQu5wYEkgSmw.uBWD4rj81x-Uq0TKj007vcl4qm6MJvpiB3mjVBaHnc0&dib_tag=se&keywords=RGB%2BLED%2BStrip%2BLight%2BKit%2B%28Cuttable%2B%26%2BConnectable%29&nsdOptOutParam=true&qid=1764941492&sprefix=rgb%2Bled%2Bstrip%2Blight%2Bkit%2Bcuttable%2B%26%2Bconnectable%2B%2Caps%2C653&sr=8-1&th=1&linkCode=ll1&tag=7stepstofll-20&linkId=26c4849b36c495246106a62fd429fbe0&language=en_US&ref_=as_li_ss_tl
Keep reading to learn more about some other places you can cut your LED strip lights. But first, let’s look at some of the reasons why it is necessary to cut LED strip lights and how to do it safely.
Cutting LED Strip Lights: The Why and How
As we mentioned, the best place to cut LED strip lights is in the middle of the copper pads. But why do you need to cut them at all? After all, aren’t they just one big strip of light?
The answer is that LED strip lights are made up of a series of smaller LED lights. These smaller LED lights are connected together by copper pads.
When you cut the strip in the middle of the copper pads, you’re cutting between two of the smaller LED lights.
There are a lot of benefits to cutting your LED strip lights. For one, it allows you to customize the length of the strip. This is great if you want to put them in a specific area or need a certain length for your project.
It also allows you to change the color of the light. If you have a multi-colored LED strip, you can cut it into smaller sections and have different colors in different areas.
Finally, it’s just a lot easier to work with shorter strips of lights. It’s much simpler to connect and disconnect shorter strips than trying to work with a long strip of lights.
What Do I Need To Do Before Cutting My LED Strip Lights?
You need to do a few things before cutting your LED strip lights.
- Measure The Length You Need
The first thing you need to do is measure the length you need. This will ensure that you don’t cut too much or too little off the strip.
Always measure twice and cut once. This will help you avoid making mistakes that could ruin the whole strip.
- Mark Where You Will Cut
Next, you’ll want to mark where you will cut the strip. This can be done with a pen or a pencil. Just make sure that the mark is visible and easy to see. You especially want to do this if you do not have any indicator lines on the strip.
- Pick Out Your Cutting Tool
I have always mentioned that using a pair of sharp scissors is always the best way to cut your LED strip lights. But if you don’t have a pair of sharp scissors, you can also use a razor blade or a utility knife.
Just make sure that whatever cutting tool you use is sharp. Also, it’s a good idea to use tape to mark the spot where you will be cutting, especially if you use a razor blade or utility knife. This will help keep the strip in place and prevent it from moving around while cutting it.
Where Do You Cut LED Strip Lights?
There are very few places to cut LED stripHowever, herehts. Here is the best place to safely cut your LED strip lights so you can customize them to your needs.
In The Middle Of The Copper Pads
This is, by far, the best place to cut your LED strip lights. As we mentioned, the copper pads are where the electricity flows through the strip.
If you cut in between two copper pads, you won’t damage anything, and your lights will still work fine.
You only need to be careful of making sure that your cut is perpendicular to the strip. If you cut at an angle, you could damage the pads and cause your lights to stop working.
If you’re not confident in your ability to make a clean, straight cut, you can always use a sharp pair of scissors. Just be careful not to damage the pads with the scissors.
We recommend using a sharp knife if you’re cutting a lot of LED strip lights, as it will make the process go faster and easier. Remember to be careful when using knives, as they can be very dangerous.
Can You Cut LED Strip Lights Anywhere?
You cannot cut LED strip lights anywhere. If you do, you risk damaging the strip, which could cause your lights to stop working.
Only cut your LED strip lights in between the copper pads. This is the only place where it’s safe to cut the strip without damaging it.
If you cut anywhere else, you could damage the circuit board, the wires, or the LEDs themselves. And once you damage any of those things, your lights will no longer work.
So, if you want to customize your LED strip lights, make sure to only cut them in between the copper pads. Also, you should always use a sharp cutting tool to make sure that you get a clean, straight cut.
Possible Problems That Can Occur When Cutting LED Strip Lights
There are some potential problems that can occur when you cut your LED strip lights. Here are a few that you should be aware of.
- Cutting in the Wrong Place
The most common problem that people have when cutting LED strip lights is that they cut in the wrong place.
Remember, you can only cut your LED strip lights in between the copper pads. If you miss anywhere else, you could damage the strip.
To avoid this problem, like I always say, “measure twice and cut once.” This will help you avoid making any mistakes that could ruin the whole strip.
Also, it’s a good idea to mark where you will be cutting with tape. This will help keep the strip in place and prevent it from moving around while cutting it.
- Cutting Off Too Little Of The Copper Joints
Another problem that can occur is that people will cut off too little of the copper joints.
When you’re cutting your LED strip lights, you need to ensure that you’re cutting through both copper joints. If you only cut through one, the strip won’t work.
Also, there will be a very little copper point for the connector to grip onto, so it will be very difficult to connect the strip.
To avoid this problem, make sure that you’re cutting through the middle of the copper joints. Also, it’s a good idea to leave a little bit of extra copper on the joint. This will give you more to work with and make it easier to connect the strip.
- Not Cutting The Strip Straight
Another common problem is that people don’t cut the strip sAgain, thisght. This can cause problems because it will make it difficult to connect the strip.
To avoid this problem, make sure that you’re using a sharp cutting tool. Also, be very careful to cut the strip in a straight line.
If you’re not confident in your ability to make a clean, straight cut, you can always use a sharp pair of scissors. Just be careful not to damage the pads with the scissors.
How To Connet LED Strip Lights After Cutting Them?
Once you’ve cut your LED strip lights, you’ll need to know how to connect them. Here’s a quick rundown of what you need to do.
1. Use Connectors
Once your LED strip lights are safely cut, you can use connectors to join them onto other strips if need be. Connectors are specially designed to connect LED strip lights, and they’re very easy to use.
All you have to do is line up the two strips you want to connect and snap the connector into place. It’s that simple!
There are a few different types of connectors that you can use, but I recommend using solderless connectors. These are the easiest to use and don’t require any soldering.
2. You Can Solder
You can also solder the cut end of your LED strip light to another strip light if you need to make your strip light longer. This is a bit more difficult than using connectors, but it’s still doable.
If you’re going to solder your LED strip lights, you’ll need to have some basic soldering skills. If you don’t know how to solder, I recommend watching a few YouTube videos or reading some articles on the subject before attempting it.
It can be very tricky to solder LED strip lights, so if you’re not confident in your abilities, I would recommend using connectors instead. If you don’t want to solder, a solderless connector pack (such as the Solderless LED Strip Connector Pack) lets you join two cut pieces quickly, just align the copper pads and snap the clip closed. https://www.amazon.com/Solderless-Connector-Transparent-Lighting-Connectors/dp/B09Y8W7FVR?crid=3KYX4JEQ8RHWY&dib=eyJ2IjoiMSJ9.hPXVgsgk0JFK0vLq4KFvqEYf78lRnDeHsuFiUKVjg443Ss2jng-_yZxWGK-A0-PpUM_4Bx1tvymJkfYwbevDFQ4aT0HD6FkEcScXD9FlsbXdhzUC9vtCkNcF6oRheUb1uRNYtQJMu2JZgxb5rRxKxqvPBy-quheteZylauc9Hz5fnsfc3ilLq2uTl4zc8aQwDeNcMx3Y70zIIYY-LijLdiC-q-INMAYexqYSB6zenZysST3rrNTSUpNXljJBtZkSrSnn6jzsnSPM1v3JI0kRC89W9VD2RPDXbmEAIuWseE8.ccjSAsD5UzcnnNQERc-iooY4QBIAdULDNG4vA4rH5qs&dib_tag=se&keywords=Solderless+LED+Strip+Connector+Pack&qid=1764942042&sprefix=solderless+led+strip+connector+pack%2Caps%2C681&sr=8-1&linkCode=ll1&tag=7stepstofll-20&linkId=7d5d5b3fdeeaccdf38f6148c2f6277cd&language=en_US&ref_=as_li_ss_tl
Possible Problems When Joining Cut LED Strip Light
There are also a few problems that can occur when joining a cut LED strip light.
Not Connecting The Cut Strips Properly:
The most common problem that people have when joining cut LED strip lights is that they don’t connect the strips properly.
This can cause a few different problems. First, it can cause the strips not to work correctly. Second, it can cause the strips to overheat and potentially catch fire.
To avoid this problem, make sure that you follow the instructions that come with your LED strip lights carefully. If you’re not sure how to connect the strips, ask someone who is.
Not Using The Right Connectors:
Another common problem that people have when joining cut LED strip lights is that they don’t use the right connectors.
There are a few different types of connectors that can be used to join LED strip lights, and not all of them are compatible with each other. Make sure you use the right type of connector for your particular strips.
Not Soldering Properly:
If you’re soldering your LED strip lights, it’s very important that you do it properly. If you don’t solder the strips correctly, it can cause a few different problems.
One common issue is soldering the wrong pads together. This can cause the strip not to work correctly. Additionally, it can also cause a short circuit, which can damage your LED strips or even start a fire.
Another common problem is not soldering the connection properly. This can cause the connection to be very weak, and it may eventually come apart.